MetaMask extension allows you to explore the NFT marketplaces and manage NFT tokens, you can add and store ERC-721 ERC-1155 NFTs, although only ERC-721 supports sending. If you are interested in understanding how you can view your NFTs
Manage Your NFTs on the MetaMask Extension or App
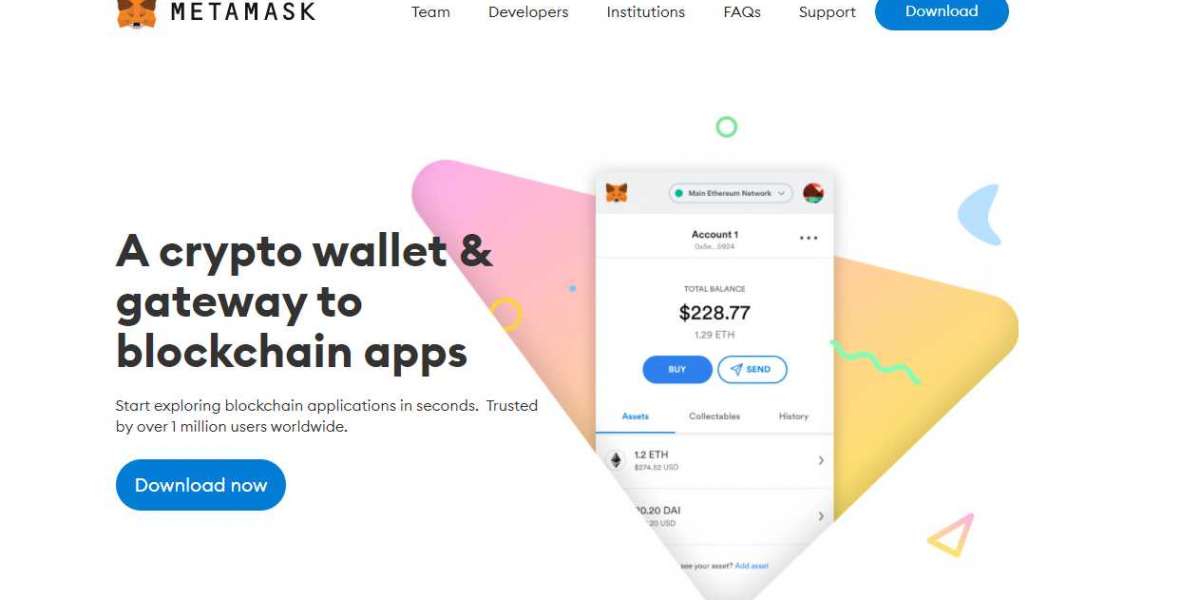
What the MetaMask is, do you know exactly? If you are involved in the crypto industry, you may already know that it is a crypto wallet used to store your purchased crypto assets. Well! This is basically true as MetaMask is designed to store ETH-based crypto assets safely with high encryption, but it is not the end of the story.
Yes! You’ll be wondered to know that by using MetaMask, you can manage the NFTs as well. MetaMask extension allows you to explore the NFT marketplaces and manage NFT tokens, you can add and store ERC-721 ERC-1155 NFTs, although only ERC-721 supports sending. If you are interested in understanding how you can view your NFTs on the MetaMask extension or mobile app, the guidelines for both configurations are mentioned right below.
How to add NFTs manually on MetaMask?
Once you have created your account, the NFTs will be shown to you under the NFTs section, you may face problems if you are using a mobile app so it is recommended to manage NFTs using the MetaMask extension. If your NFTs are not visible on the NFT tab, you can turn on the NFT auto-detection feature. But, if you still face the issue, you can add them manually by following the steps stated as under.
Steps to import NFTs manually on MetaMask mobile app:
- First, you need to collect the NFT’s address which you can get from the “Details” section of the NFT marketplace.
- Copy it and then open the MetaMask, afterward tap on the “NFTs” tab.
- Next, look for the “Import NFTs” text located there.
- On the prompted page, paste the NFT address you have copied on the “Address” field.
- After this, you can copy the unique NFT ID from the marketplace such as OpenSea.
- Paste this NFT ID on the “ID” section on MetaMask and click “Add”.
Here’s all you need to add your NFT on the MetaMask app. Now, your added NFTs will be shown in the “NFTs” tab.
The process to add NFTs on MetaMask Extension:
On the extension, your MetaMask platform can easily detect all the NFTs if your NFT auto-detection feature is on. Do remember this auto-detection feature only works on the Ethereum Mainnet, for other supported networks, you need to add NFTs manually. The process to add NFTs manually is the same as the mentioned guide for MetaMask Wallet Extension.
Notable Point: If you want to know about the process of turning on the NFT auto-detection feature, let me tell you that once you’ve opened the NFTs section on the MetaMask extension dashboard, you can see an experimental page and from there, you can turn on the toggle if it is off. You can also navigate to the “Settings” menu, choose “Experimental” and turn on the toggle manually.
An approach to send/receive NFTs on MetaMask Extension
A useful guide to receive NFTs:
When you buy an NFT on any marketplace, it is often detected and transferred to your MetaMask account automatically, but if it is not the case, you can follow the below-mentioned guide to ensure a successful transaction.
- Make sure that you have provided the accurate public address of your MetaMask account.
- In the process of receiving the NFTs, you need to pay gas fees. So, make sure that you have enough native currency to pay the gas fees.
- Ensure that the sender also inputted the correct address in the “Address” field.
- Look for the NFTs in the “NFT” section on the same account whose public address was given to the sender.
Steps to send NFTs:
- Open the NFTs tab from the dashboard of MetaMask.
- Pick up the NFT you wish to transfer.
- Now, in the “Send to” field, paste the public address of the recipient wallet.
- Hit the “Next” button and go through the transfer details.
- After all, press the “Confirm” button to proceed with send.
The Final Take!
This read is entirely designed to hone your MetaMask experience by introducing an exclusive service of MetaMask- NFT management. Go through the read and learn the various things you need to know about NFT management such as auto-detection, the process of adding them manually as well as the detailed process of receiving and sending NFTs.


