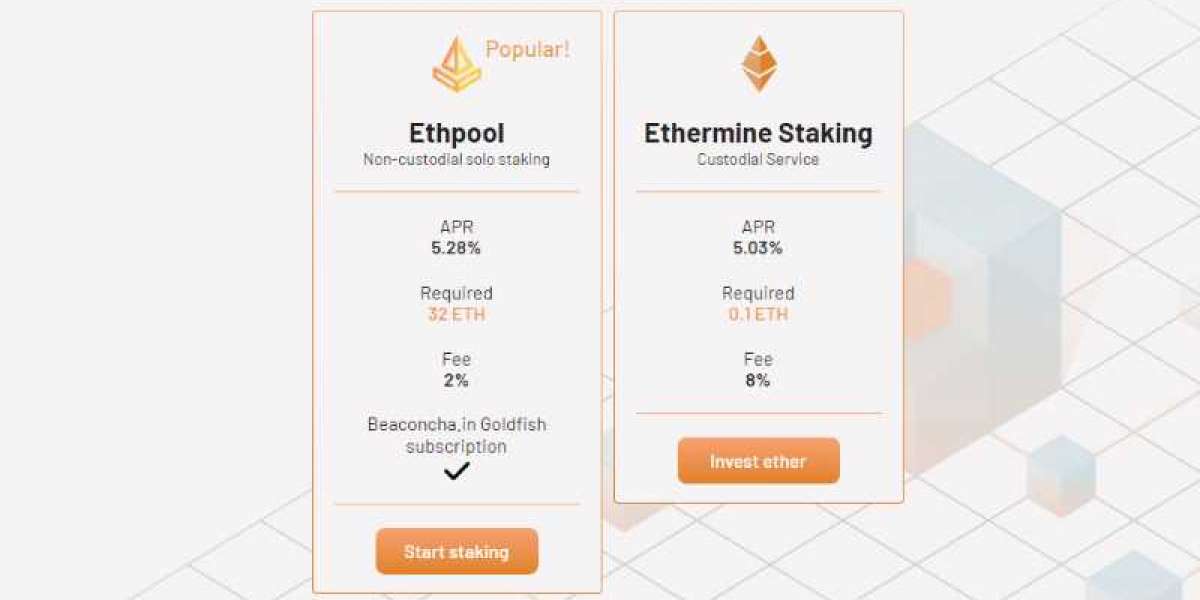
Ready to become a validator to participate in ETH staking? If you’re looking for the best platform and an instruction guide to do so, then don't worry because we are here to help you with Bitfly staking platform.
In our further content, we will cover some topics such as pre-requirements for staking on Bitfly and an easy instructions guide that will help you to add a validator key to start staking on the platform.
Pre-requirements to stake on Bitfly:
After reading through the above section we are sure that you are now interested to stake on Bitfly but before you start, you have to complete some basic requirements including,
- First of all, get access to web3 wallet such as MetaMask.
- Purchase at least 32 Ether (ETH).
- Download the official Eth2.0 “Deposit-cli” in order to create validator keys.
- Once you complete the previous instruction, you will receive deposit_data.json (used to fund the validators) and keystore-m.json (per validator) files.
- Go ahead to the official Ethereum 2.0 Launchpad and then fund the validators by using 32 ETH in your MetaMask. In this step, you will be prompted to deposit_data.json file that you have created on “Deposit-cli”.
- Once you successfully fund your validator, the deposit will be visible on beaconcha.in and then you will also be able to see your validator public key.
After following all of these instructions, you can easily take part in ETH staking on Bitfly by depositing your keystore.json file. But if you are unaware of how to do so, then take a dive with us in the next section of this write-up.
Steps to upload your validator keys to start staking on Bitfly:
We have mentioned below an easy step-by-step guide that will help you to upload your validator keys to start staking on Bitfly.
- First of all, open your Google Chrome or any other preferred browser and visit ethpool.org.
- Now, click on “Register”, located at the top right corner of your screen.
- Type the Email ID in the first text field that you would like to register with the platform.
- Create a unique and strong password and then type it in the second and third text fields.
- Tick on “I agree to the Terms and Conditions and Privacy Policy” and then click on “Register”.
- Once you have verified your Email ID and logged in to the platform, click on “Start Staking”.
- Select “Yes, Take me to the advanced flow”.
- Agree to the “Terms and Risks” and then deposit your funded keystore.json file.
- Enter your Keystore password in the given text field.
- In last, click on the “Upload” button and then follow the on-screen instructions to finish the entire process of starting staking on Bitfly.
Bottom Line:
Overall, that's how you can participate in solo staking on the Bitfly platform for generating a passive income. Along with that, the entire process of participating in staking through the platform can be difficult for beginners. But if you are an experienced crypto enthusiast, then you can do it by going through the above instructions.


