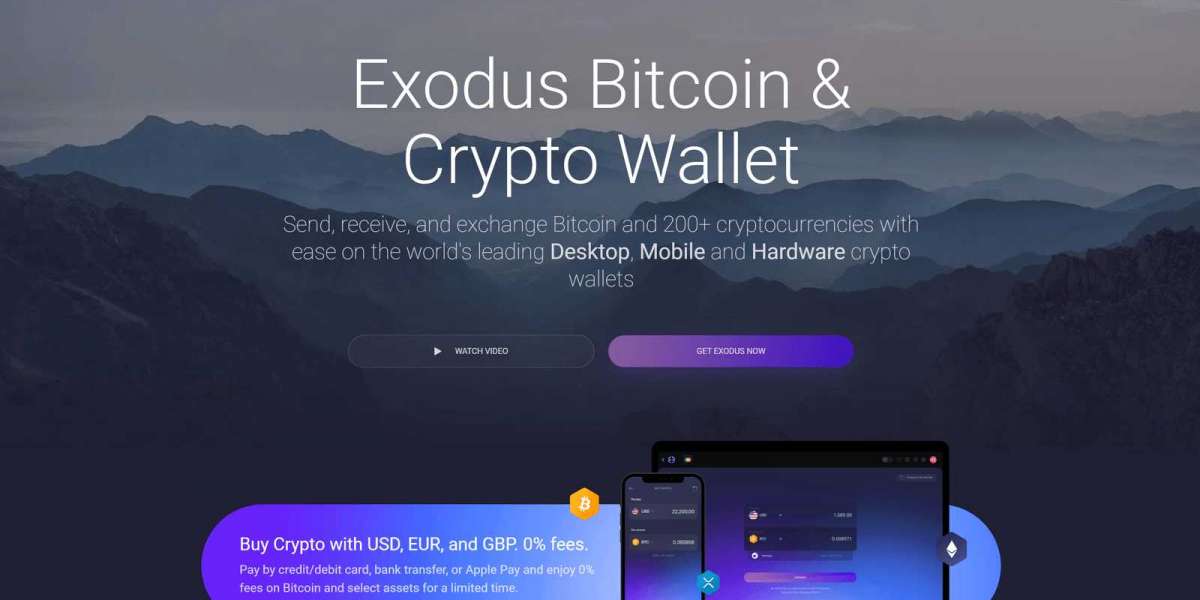
Performing regular transaction activities is an important part if you are willing to keep your trade running. Just like other trades crypto trade is also laid on the foundation of buying, selling, sending, and receiving crypto funds. And, to perform any of these activities investors should have a secure crypto wallet through which they can perform trade actions, and one of those wallets is the Exodus wallet.
Here, we are going to list all the necessary steps that are included in sending crypto funds from your Exodus Web3 Wallet mobile application. Relating to this process, we have also covered some of the crucial things that you should focus on.
Precise introduction to the Exodus Web3 Wallet
Supporting over 260 cryptocurrencies, this crypto wallet came into existence in 2015, to aid investors to secure, manage, and swap cryptocurrencies in a secure and favorable manner. Designed by JP Richardson and Daniel Castagnoli, this wallet has the unique feature of launching a new product update at an interval of every 2 weeks.
Moreover, it supports over 50 networks including pioneering ones such as Ethereum, Solana, BSC, and many others.
Modes through which you can access Exodus Web3 Wallet
Desktop: Get it on Windows, Linux (.deb), (.zip), Mac
- Mobile: Download for mobile devices from the Play Store and App Store
- Web3 Wallet: Install it for Chrome Brave
Through a Mobile Device
The actions you need to take for transferring (Sending) funds from this wallet through the Exodus wallet mobile application are as follows:
- Access your Exodus Web3 Wallet by taking the necessary actions
- Check for the Wallet icon and click on it
- Now, scroll down the page to look for the digital asset you are willing to send
- On finding the assets you want to send, tap on it
- Have a sight at the left side of the page and click on the “Send” arrow symbol
- Below, in the provided space, enter the amount of assets that you want to send. For this, first, click on the fiat currency and then enter the amount in the fiat
- Click on “Tap to Paste Address” to provide the destination address
- Alternatively, to eliminate the chances of error, you can even scan the QR Code provided on the page by clicking it
- Hit on “Advanced” to mention a custom fee for Bitcoin or Ethereum and ERC20 tokens and then click on “Confirm”. Next, click on “Send” “OK”.
- Review the transaction and drag the slide to the right for sending the selected crypto asset
NOTE: The minimum amount of Bitcoin that one can send is 0.00006001 BTC.
Things you should take care of
Always cross-check the information before finalizing it
- For security purposes, it is not recommended to enter the address manually
- There are three ways through which you can mention the address:
- Paste the copied address in the designated space
- Scan the QR Code displayed on the page
- Manually adding the addresses. For this, long hold the “Tap to Paste Address” field and then enter the address (least recommended option)
Closing Lines
Exodus Web3 Wallet can be run on both mobile devices and desktops as well through extensions. If operating through a desktop, you first need to install a browser that supports the wallet operations. With this, you can even engage with dApps or can even manage your NFTs in a more secure and convenient manner. Further, investors are provided with a 24/7 dedicated customer support.


